How it Works?
We connect students with teacher, friends and creating ecosystem to share knowledge
Easy to Use
We believe to solve complex problem with simple solution, We included most important features with simple UX.
Awesome Design
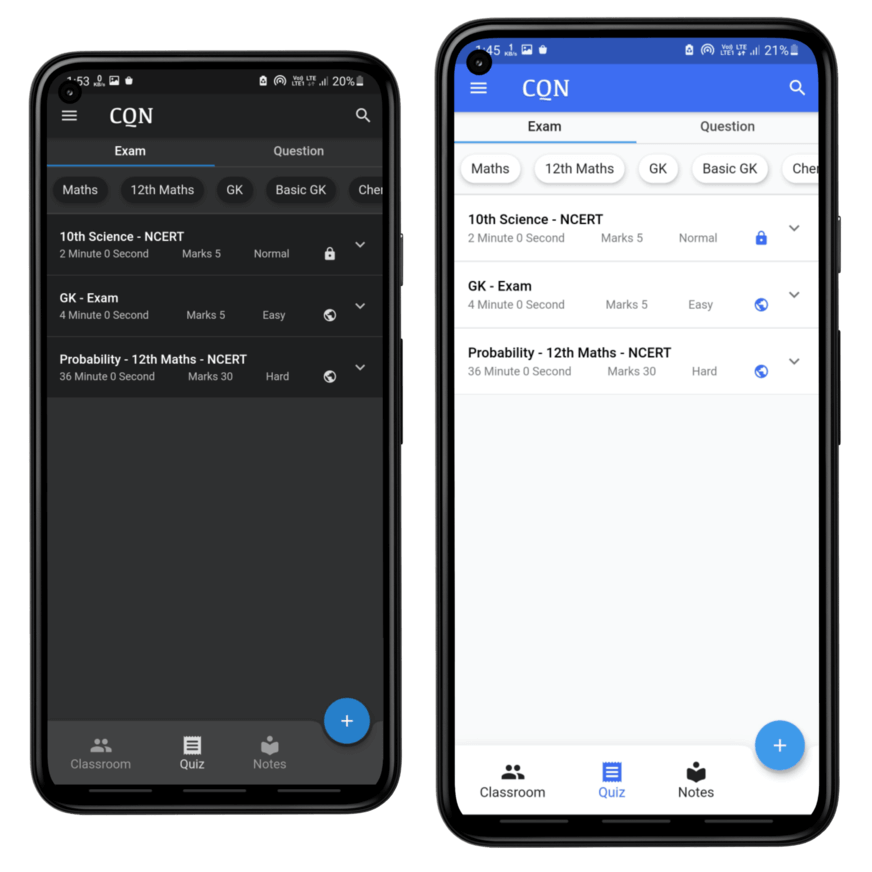
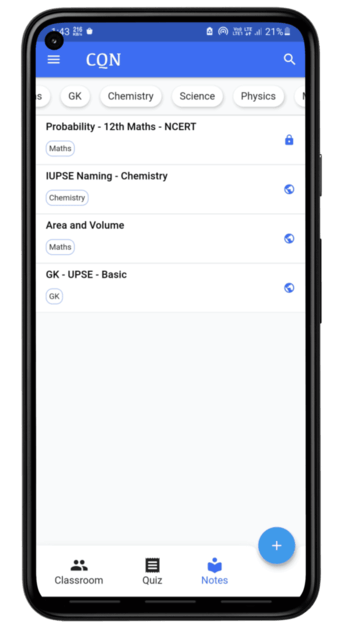
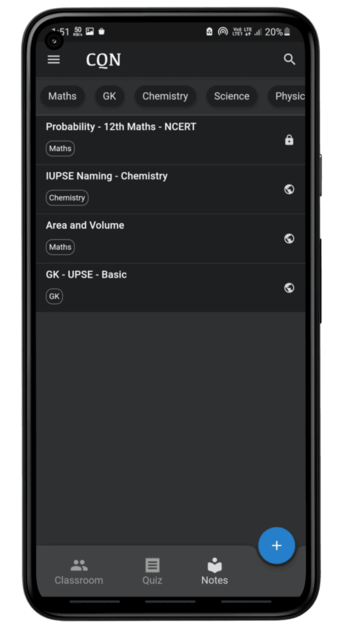
We have easy and beautiful UI, With 2 themes. Find features and spend your time on learning with us.
Connecting
We live in age of information, Here we connect peoples who wants to share or gain knowledge.
Advance Features
We provide features which is nobody provides, by modernizing the way of learning.
Create Classroom
Build a communication channel between teacher or student
Online exam
Conduct exams in classroom, Made online examination easy
One click result
We do calculation for you, Don't waste time on answer checking

Notes sharing
Managed format with Notes editor, Images, PDF, Videos
Share exams
Your created exam now can help many needy students
Community
Build your community of knowledge sharing

Why Is the best
Why we're the best? Let's start with the basics, we want to help and support teachers and institutes to share knowledge with their students. We also help the students who want to learn online and trying to find study material. Taking exams makes a student perfect over time, so here we are with all-in-one solutions. We have simple and easy-to-understand UI from kids to grown people.
If you are running coaching classes or an institute, this is it! you got your perfect solution for your needs.
Something special about our app
Powering up small and medium-size businesses makes the nation stronger. While no one is focusing on this area, we have come up with a solution. This isn't about just an application, this is about educating people, this is about sharing knowledge, this is about making someone's future brighter, this is about grabbing people's focus on how education is important.
We are in our beginning stage, the journey is too long. Let's build an ecosystem of education and information.

App Screenshots
Our Blog
FREQUENTLY ASKED QUESTIONS
When we start using any application we have some questions about it, Here we cover some basic questions comes into mind for our application.
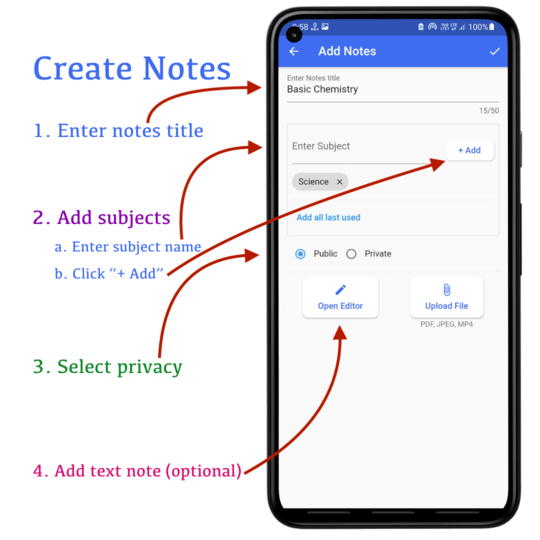
Enter the title of Notes, for example, "Probability 12th Maths".
Enter the subject name in the input box and click on the "+ Add" button. Select the privacy of the Notes, either private or public.
Now you have 2 options.
Option 1:- Open the text editor by clicking on "Open Editor", Enter your notes and click on the top right corner to save text notes.
Option 2:- Upload media file, that can be Image, PDF, or video.
After adding all your notes, you can arrange them in order. Long press on the Note which you want to move and select the moving option.
Click on the top right corner check button to save it.
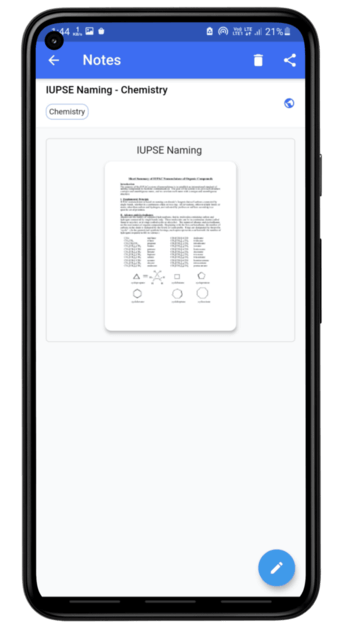
Now your notes are visible on the top. Click on that to see. And for sharing the Notes, click on the top right corner share button to share it.
You can share to either any classroom or link to other app.
Create Question -
Open the app you will see 3 options on the bottom sheet. Click on Quiz. Now on below of App Bar, you will see 2 tabs. Click on Question.
Click on the bottom right corner with a floating button with the plus icon.
Enter the Question
Click "+ Image" if you want to add images to question
Select Answer type of question, Multichoice, Single choice, Direct Answer
In the case of the chosen type of answer, you need to add an option. Either select image as an option or enter text and click "+ Add". Select the right option/options from added options.
In the case of Direct Answer, Enter the answer and Answer Format (placeholder).
Enter exam and click on "+ Add"
Enter subject and click on "+ Add"
Enter Answer hint (Optional)
Enter Solving Time (Optional)
Enter Marks (Optional)
Add Solution (Optional)
Click on the top right corner to save the question
Create all questions for an exam by following this process.
Create Exam -
We have to ways to create an exam
In the Question tab, Long press and select all questions for an exam (You can filter from the top exam and subject list). Then from the bottom left corner select the option of Create Exam. You have to fill in other details but you can skip the question select part from option 2.
In the Exam tab, Click on the bottom right corner.
Enter Exam title, Example, "12th Math 2021"
Enter Exam Instruction
In the case of Option 2, Select question by clicking on "+ Question"
Check "Minus Marking" if you want to set minus marking, and add Minus marking per question as well
Change Exam solving time (If you want to)
Change Marks (If you want to)
Enter exam and click on "+ Add"
Enter subject and click on "+ Add"
Select Exam Privacy
Select Difficulty Level
Click on the top right corner to save
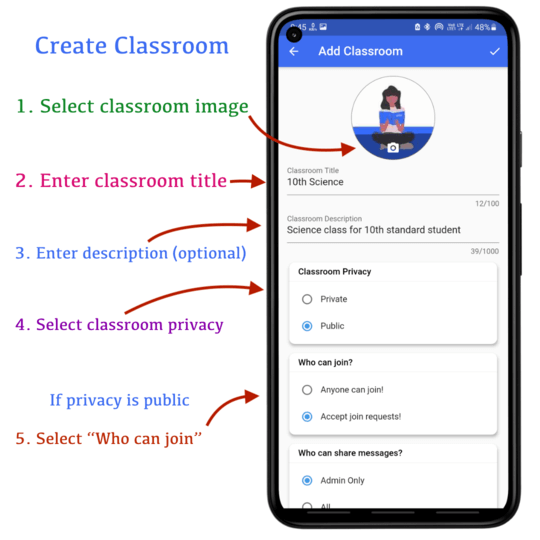
Click on the Camera icon to select the image
Enter Classroom title
Enter Classroom description (optional)
Select privacy Private/Public
In the case of Public, you can set a joining option (Anyone can Join or Accept join requests)
Select Who can share the message
Enter Exam and click "+ Add"
Enter Subject and click "+ Add"
Add member
Click on the "Add Member" button
Search for a person to add
Either click on a person to add
or Long press to select multiple people and click on the check icon on the bottom right corner
On Add classroom screen, click on the top right corner to save
Add member after save -
Open classroom profile by clicking on the image of a classroom from the Classroom tab
Scroll to the bottom and click "Add Member"
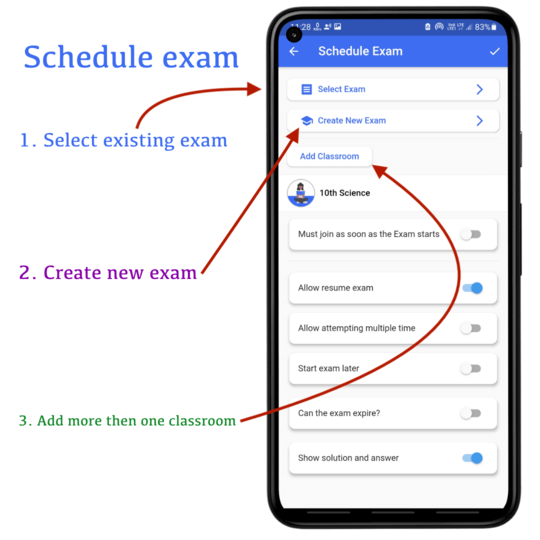
Note: You need to be Admin to schedule an exam
Open Classroom profile by clicking classroom image
You will see "Schedule Exam" (If you are admin)
If you have already created an exam click on "Select Exam"
or click on "Create new exam" if you want to create an exam from existing questions
You can schedule the same exam into multiple classrooms, you can click on "Add classroom" to add more classrooms for exam scheduling.
Switch on "Must join as soon as Exam starts" if a student must join exam on start,
If must join at on start, you can enter "How late is allowed" in minutes
If must join at on start, you can set "Must finish within the time", which mean the student must solve the exam within the solving time given in the exam
Switch on "Allow resume exam" if you want to allow the student to resume the exam if he/she accidentally exited the exam
Switch on "Allow attempting multiple time" if you want to allow the student to attend exam multiple times
Switch on "Start exam later" if you want to start the exam at a specific time and date (not now), In this case, you have to "Select start time"
If must join at on start switch is off, you can switch on "Can the exam expire?" and select the date and time of expiring by clicking on "Select expiry time"
Switch on "Show solution and answer", if you want to show the answer and solution to the student on answer submit
Click on the check icon at the top right corner to Schedule the exam

